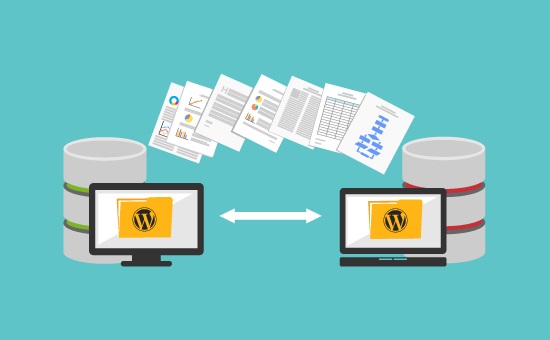
Migrating your website to a new hosting provider can be a daunting task, but with the right approach, it can be a smooth and seamless process. Whether you’re looking to take advantage of better pricing or superior features, switching to a new hosting provider can help you optimize your website’s performance and improve your online presence. In this article, we’ll walk you through the process of migrating your website to a new hosting provider.
Step 1: Choose the Right Hosting Provider
Before you can migrate your website to a new hosting provider, you need to choose the right one. Research various hosting providers and compare their pricing, features, and customer support. Look for a hosting provider that offers reliable uptime, fast loading speeds, and scalable resources. Make sure the hosting provider can accommodate your website’s needs and growth goals.
Step 2: Back Up Your Website
Before you make any changes to your website, it’s crucial to back it up. A backup will ensure that you can restore your website if anything goes wrong during the migration process. You can back up your website manually or use a backup plugin if you’re using a content management system such as WordPress. Make sure to save your backup files in a secure location.

Step 3: Set Up Your New Hosting Account
Once you’ve chosen your new hosting provider, you’ll need to set up your account. Sign up for a hosting plan and create an account. Once you have access to your new hosting account, you can begin to upload your website files and data.
Step 4: Upload Your Website Files
Now that you have access to your new hosting account, it’s time to upload your website files. You can do this using an FTP client or the hosting provider’s file manager. Make sure to upload all of your website files, including images, videos, and any other media. Once you’ve uploaded your files, you’ll need to configure your website settings.
Step 5: Configure Your Website Settings
After you’ve uploaded your website files, you’ll need to configure your website settings. This includes setting up your domain name, DNS settings, and email accounts. If you’re using a content management system such as WordPress, you’ll need to update your website’s permalink structure and configure your database settings.

Step 6: Test Your Website
Now that you’ve migrated your website to your new hosting provider, it’s essential to test your website to ensure it’s functioning correctly. Check all of your website pages, links, and media to ensure they’re working as intended. Use online tools to test your website’s loading speed and performance.
Step 7: Switch Your DNS Records
Once you’ve tested your website and are satisfied that everything is working correctly, it’s time to switch your DNS records. This will ensure that traffic to your domain name is directed to your new hosting provider. You can usually do this through your domain registrar’s control panel or by contacting their customer support team.
Migrating your website to a new hosting provider can be a complicated process, but by following these steps, you can make it more manageable. It’s crucial to choose the right hosting provider, back up your website, and test everything thoroughly before switching your DNS records. By taking the time to plan and execute your website migration correctly, you’ll enjoy improved website performance, reliability, and security.


